Contributing
To contribute to this project follow the guide on how to contribute.
1- Create a fork or clone the repository.
git clone https://github.com/UnBArqDsw/2020.1_G2_TCLDL.git
2- If you want to change something, create a branch following the branch policy of this project.
3- Commit you change following the commit policy of this project
4- Create a pull request following the Pull Request policy
Branches Policy
The Branches of the project must include the following specifications:
-
The beginning of the branch name must be informing which group it belongs to, being:
-
TCLDL-feature: For adding features or changes to an existing one;
-
TCLDL-bugfix: For bug fixes;
-
-
The name of the branch must be related to the issue separated by a slash('-')
-
Each branch is aimed at solving a single issue, after closing the issue the branch must be deleted
Exemplo: TCLDL-feature-prototype
Branch Flow
Branch Flow
The project will adopt a git flow based on git-flow:
-
master: Is the main branch of the repository and plays the role of the production environment. It only accepts duly tested and validated code, so that all insertions made there will be the project releases;
-
dev: is the branch that will concentrate all the new functionalities of the project, where it will perform the role of concentrating the work of the development environment, bug fixing and finalization of tests;
-
feature (feat): type of branch used for the development of a new project feature, so the name of the branch should be "feature-" and the name related to the issue in github. Ex: “TCLDL-feature-prototype”;
-
Bugfix (bug): Branch to fix bugs in production;
Commits Policy
The Commits of the project must include the following specifications:
- Must be written in English and use the imperative verbs
Example: update project readme
- For joint work, use co-authored to include as a contributor in the commit message body:
add signin feature

Co-authored-by: Fulano <funalo@outlook.com>
Pull Request Policies
Creation of Pull Request
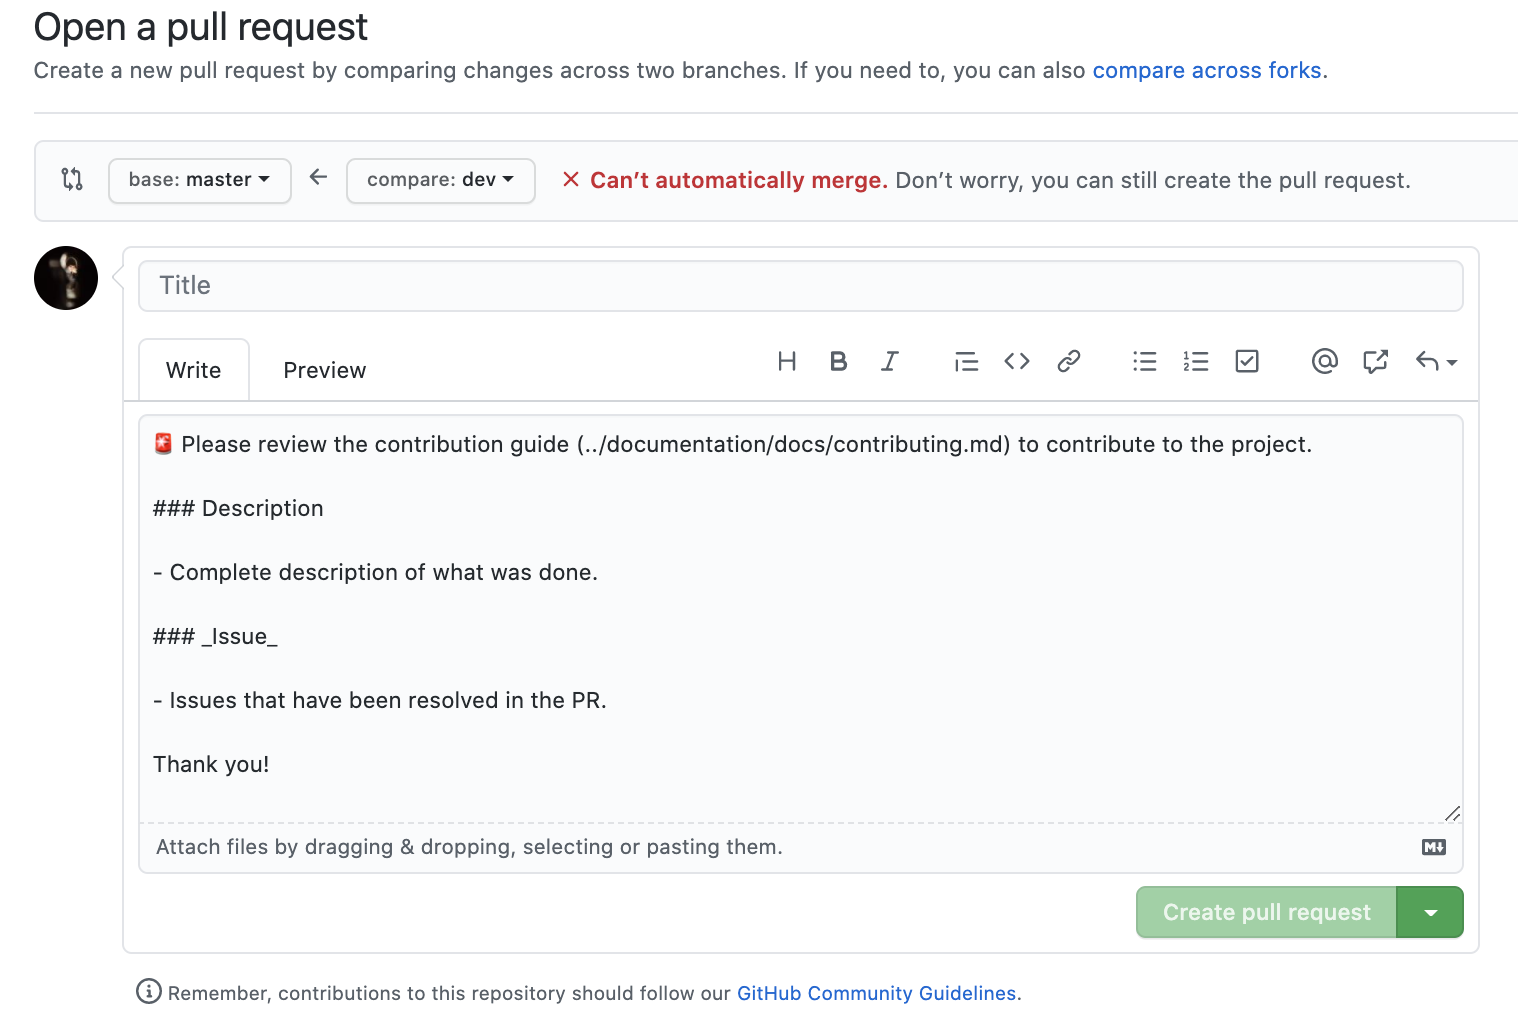
Consider a hypothetical situation where we are looking to create a PR for a branch called Sprints for master.
Note:
- The creation of the PR must be done right after the beginning of the work on an issue. For that, we work with the status WIP flag.
To create a pull request directed to a master branch, the following steps must be followed:
1) Add the status flag
- Title the PR with the tag WIP (ie work in progress)
2) Add a description
- Use issue template for pull request.
- Remembering that the pull request has the branch base to master and compare to the branch that you want to join.
- Remembering: as soon as the changes regarding the pull request are really finalized, the WIP tag must be removed.

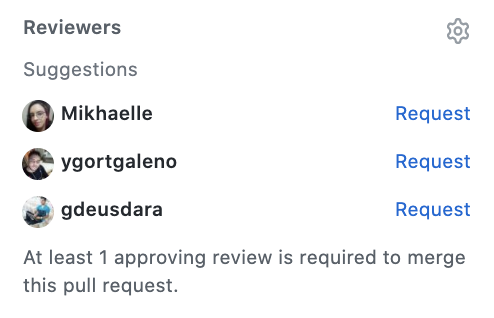
3) Add the reviewers
- Check the reviewers, that is, those responsible for the analysis of the pull request.

4) Add the assignees
- Tick the pull request employees

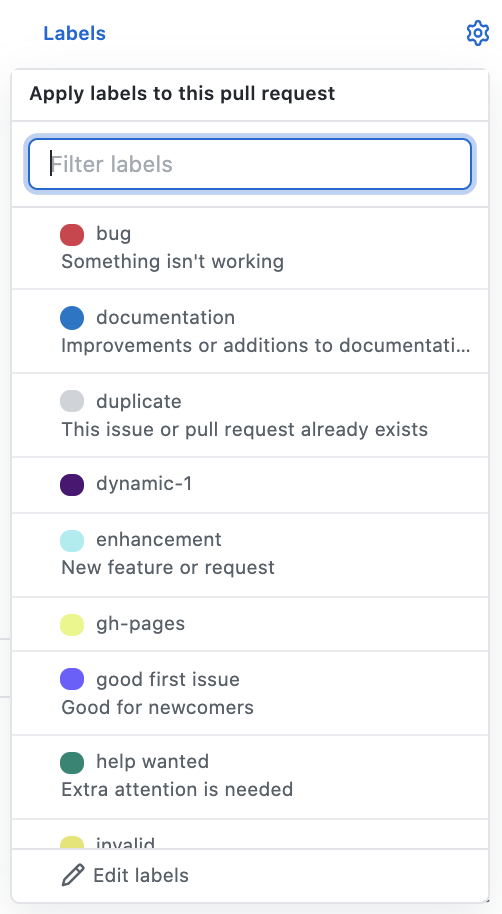
5) Add the appropriate labels
- Check the labels related to the pull request. It will generally be the same as indicated in the referring issue.

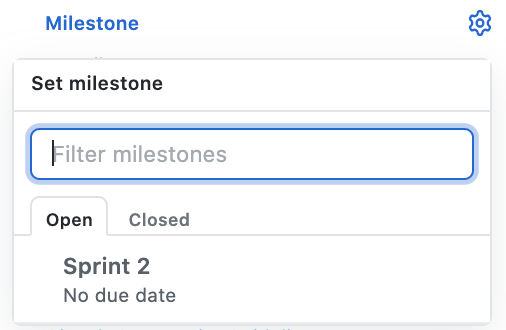
6) Add the appropriate milestone
- Check the Milestone, that is, the current sprint or release.

7) Explain the issue related to PR
- Connect the issue worked on this pull request through closing keywords.
| Issue to be linked | Syntax | Example |
|---|---|---|
| Issue within this repository | KEYWORD # ISSUE-NUMBER | Close #10 |
8) Conflicts
- If a pull request causes some kind of conflict, it must be resolved first by the team that developed what is causing the conflict, valuing the integrity and organization of the commits history, and then the request for merge evaluation must be redone.
Document Versioning
| Date | Author(s) | Description | Version |
|---|---|---|---|
| 09/09/20 | Mikhaelle Bueno | Document creation and edit | 1.1 |
| 09/09/20 | Gabriel Filipe | Adds PR policy | 1.2 |
| 21/09/20 | Gabriel Filipe | Adds PR policy | 1.2 |